Owner Dave Marsh is the guest blogger for this post
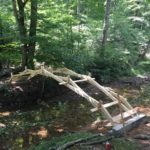
This past summer Operations Manager John and I needed a new construction project, and Marsh Hollow needed a new footbridge over the creek. After considering a truss and a suspension bridge, I stumbled on a modified truss (“rainbow bridge”) designed by Frank Petersohn of Vancouver BC. Although Frank has passed away, his son Michael now sells the very reasonably priced bridge plans, but fully cut and drilled kits are no longer available. For more information about constructing this type of bridge, please visit The Rainbow Bridge.
We found the design very appealing both mathematically and aesthetically. The arches are chords of a circle. We challenge granddaughter Makenzie to calculate the radius of the circle for this particular design!
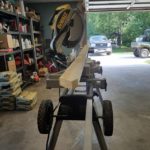
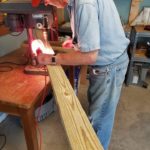
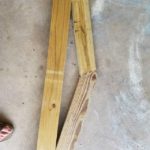
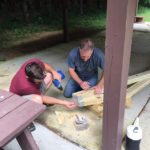
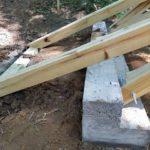
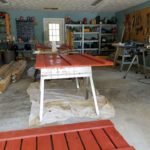
Cutting and fabricating the arches, which are cut from stock 2X4’s, required angle cuts such as 18.4° and measurements such as 123 23/32”. To say the least these are challenges on a chop saw. It wasn’t until we were nearly done that I got a digital angle measurement tool (should have had it from the beginning). Fortunately, I had Mary check and challenge my measurements (she was always correct). She also held many of the longer pieces being cut.
Note: click any photo to enlarge.
-
-
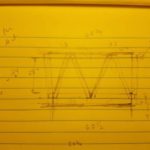
The patttern piece. Had to ask Google for the tangent of 18.4° and 26.6° to create this piece.
-
-
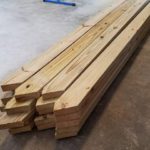
20 perfect pieces, which were glued into 10 pairs, form the 2 arch bridge. To span 24 ft.
-
-
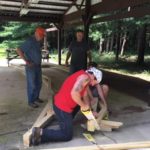
Bolt holes require precise drilling.
-
-
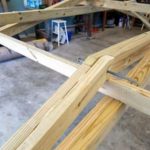
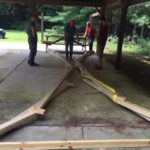
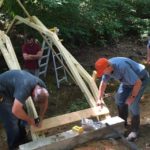
A successful, critical test fit of the pieces.
-
-
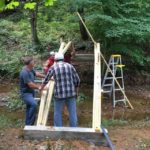
The footbridge arches standing upright in our workshop. This is one of the peaks with a test fit of the cross beam pieces. Temporary bolts in place.
-
-
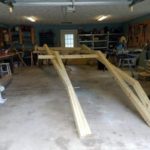
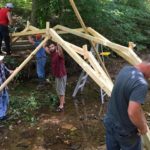
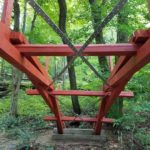
The completed arches, 24 ft in length. Lateral stability to come in next steps: cut, glue and screw cross beams, cut and fit joists.
A new chop saw blade is a good idea. My chop saw actually caught fire and burned up during the project. Too bad it wasn’t the table saw because I really need a new one of those.
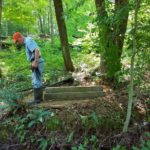
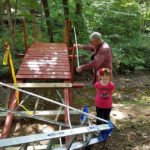
While a lot of the work and pre-assembly took place in the workshop, foundations had to be dug and poured and the arches moved into place over the creek. Getting the foundations parallel and aligned across the creek without a laser was also challenging, Fortunately, John is experienced with concrete work and took the lead in setting the foundations. When all was done the two foundations were in near perfect alignment. I was convinced they were not aligned but in the shape of a parallelogram, but I was wrong.
-

-
About 900 lbs of Quikrete went into the footer forms. John did all the siting, digging, mixing and filling.
-
-
The west footer with me for scale.
-
-
East footer with Rhino for scale
-
-
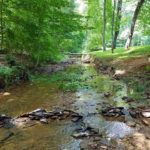
Bridge location; 24 ft, footers visible right and left.
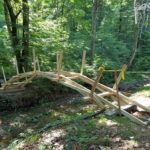
Perfectly aligned foundations made the installation of the arches much easier. We used a family “staycation” to set the arches. Thanks to our crew led by John including Brian, Grey, and Travis documented by Uncle Mike the actual placement went very smoothly. Note: the arches must be parallel and perfectly vertical to provide maximum stability. I think we achieved that. We also owe thanks to the ladies for entertaining the kids during this activity, cooking up a delicious lunch and serving cold beer.
-
-
After footers were in place, the arches were moved from the workshop to a shelter on our property closer to the bridge site.
-
-
After final measurements, John sawed off the ends for a perfect fit between the footers.
-
-
Travis and Gray screw on steel strapping to ends.
-
-
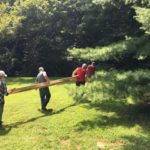
Arch in transit to final site.
-
-
The second arch in transit
-
-
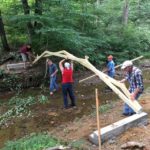
Travis, Gray, John and Brian fit first arch to footers.
-
-
The crew installs the second arch.
-
-
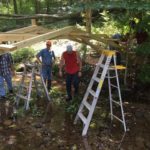
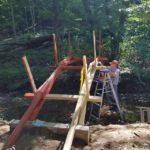
Preparing to install joists and cross pieces.
-
-
Temporary short posts installed.
-

-
What a great crew we had.
-
-
Fortunately the creek bed was dry on bridge installation day.
-
-
Installation only took a few hours.
The next steps included placing the crossbeams and staining the arches in place. The decking was assembled in sections in the workshop and transported to the site by John (they are heavy!).
-
-
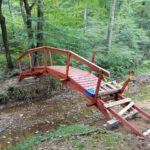
The arches fit against the footers. The ramps are attached to the arches
-
-
-
Staining begins
-
-
Coiled steel strapping to enhance lateral stability.
-
-
Decking was assembled back in the workshop and transported to the site.
-
-
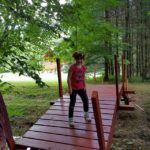
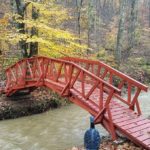
Every now and then, a small observer would appear.
-
-
Everything is feeling very secure and sturdy.
-
-
There she is again with our Shadyside Cabin in the background.
-
-
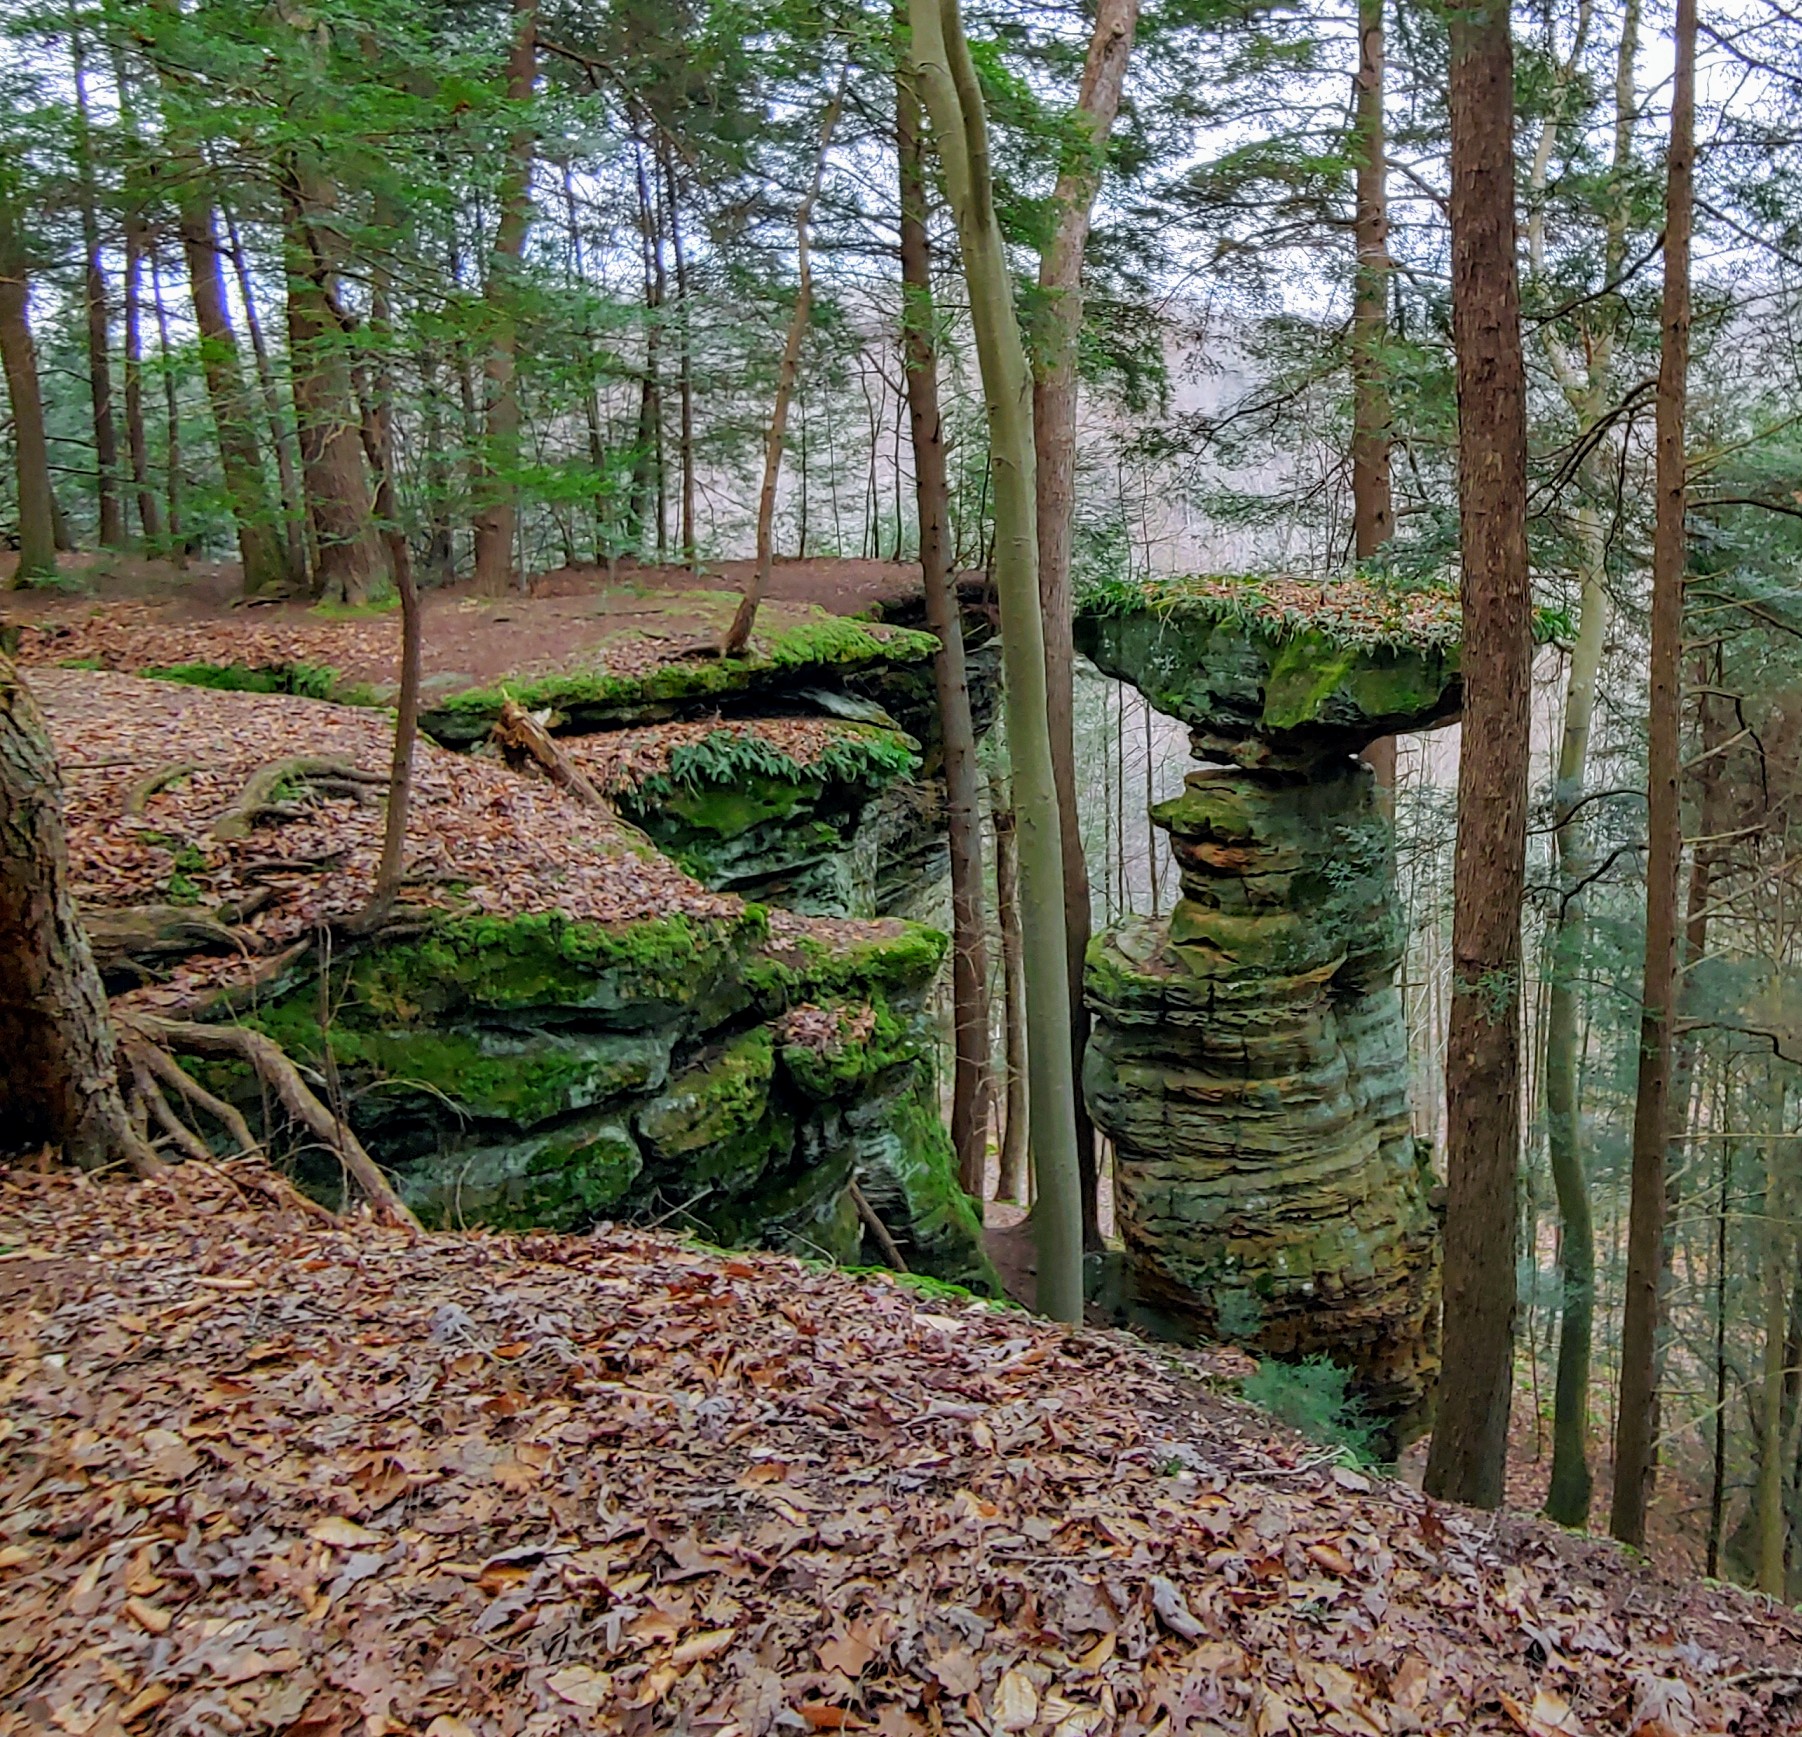
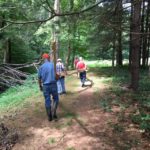
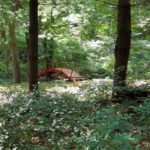
A view through what we call the Enchanted Forest.
During this time Jill, Mary’s cousin, was visiting. She has a designers eye and gave us excellent advice about the design of the railings. What you see in the pictures is a result of her input. I think the railings give the bridge a very distinctive appearance.
-
-
Railing design, as suggested by Cousin Jill.
-
-
Railing work begins.
-
-
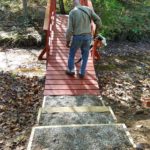
Steps constructed down bank to ramp.
-
-
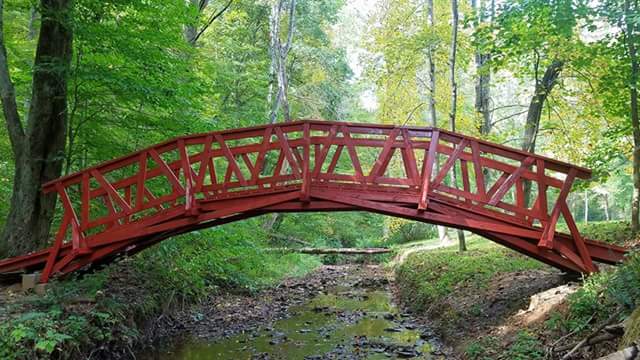
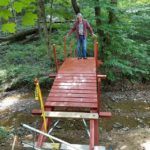
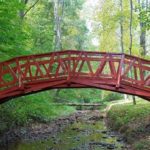
The completed bridge.
-
-
Bridge over creek
Finally, because the slope of the ramps approaches 20°, we mixed Interlux Intergrip No Skid Compound paint additive with the stain to provide better traction during wet weather. We also finished the hand rails with spar varnish make for a smoother hand hold.
We hope you will enjoy crossing the creek on our new bridge on your next Marsh Hollow vacation. It makes a great photo op and gives you access to our trail through the woods.
Dave at Marsh Hollow